Since we introduced the Konro Grill to Chef James Martin we've always had an eye on his Chopping Board.
Finding a suitable Carpenter up to the task has not been easy. Sarah left her job in the city a number of years ago to persue her passion - Fortunately for us this was Carpentry.
With a focus on sustainability and bringing Unique Live Edge timbers and Rare Cuts to Life. The Results are truely Unique!!
Working from her own home workshop in Kent UK she creates pieces to be treasured that will last a life time...
With a focus on sustainability and bringing Unique Live Edge timbers and Rare Cuts to Life. The Results are truely Unique!!
Working from her own home workshop in Kent UK she creates pieces to be treasured that will last a life time...
|
|
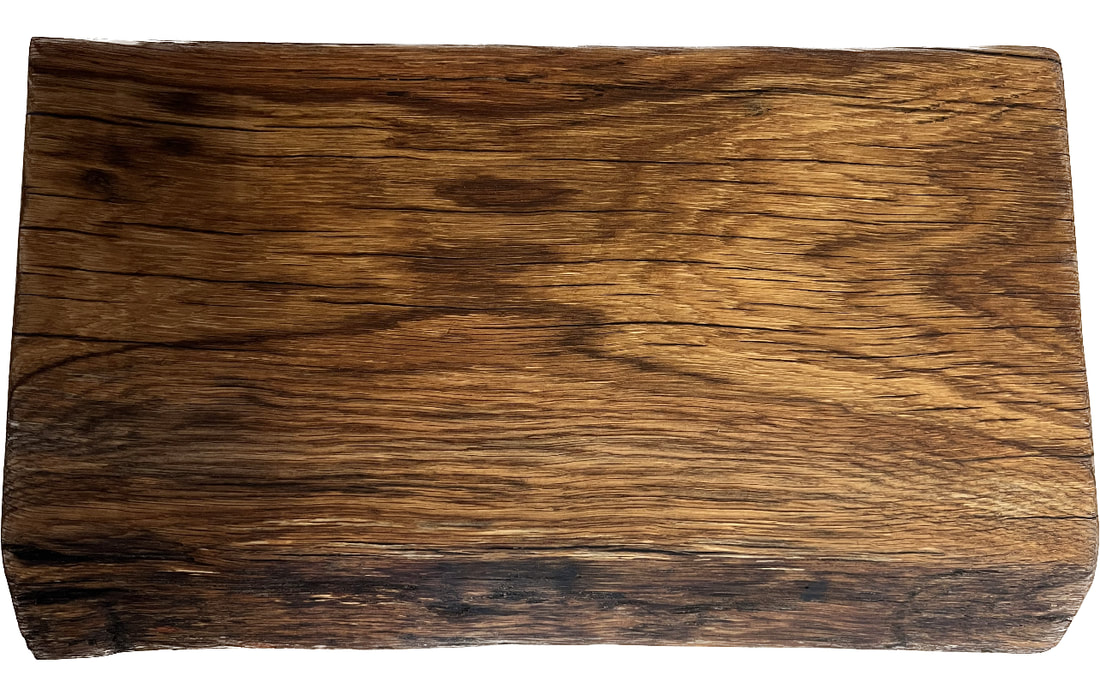
" James Martin Inspired Chopping Board" By Sarah Croot The aim has always been to produce a Butchers Block style Wooden Chopping Board suitable for home use that is Handmade in the UK and Sustainably Sourced. Only the finest timber is hand selected from the local mill before being shaped, sanded and oiled with "Odies Oil" for a quality smooth finish. |
|
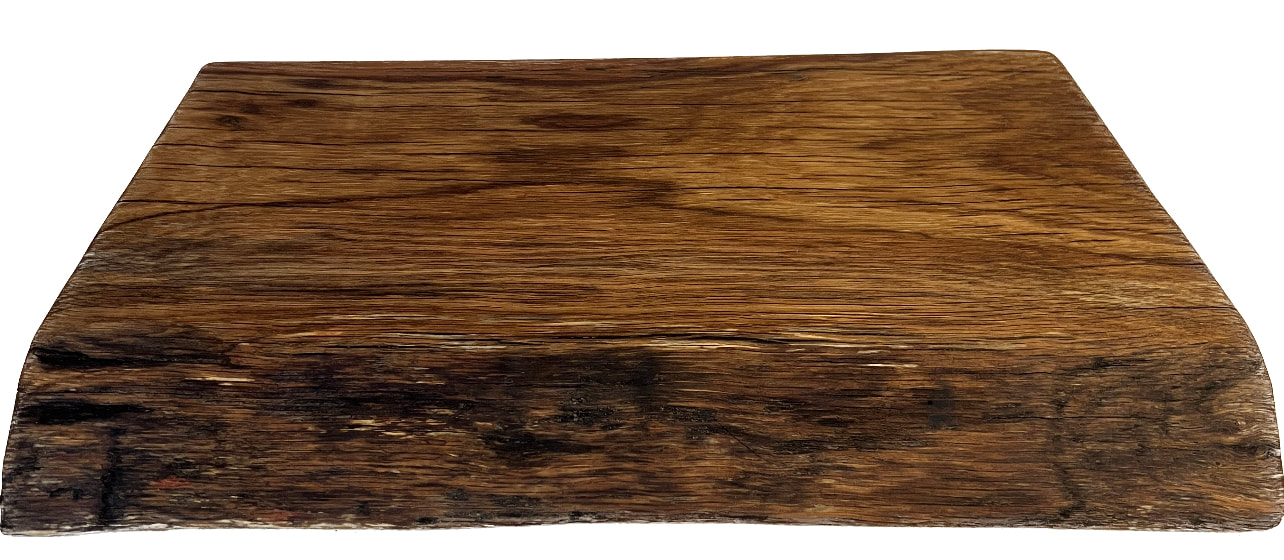
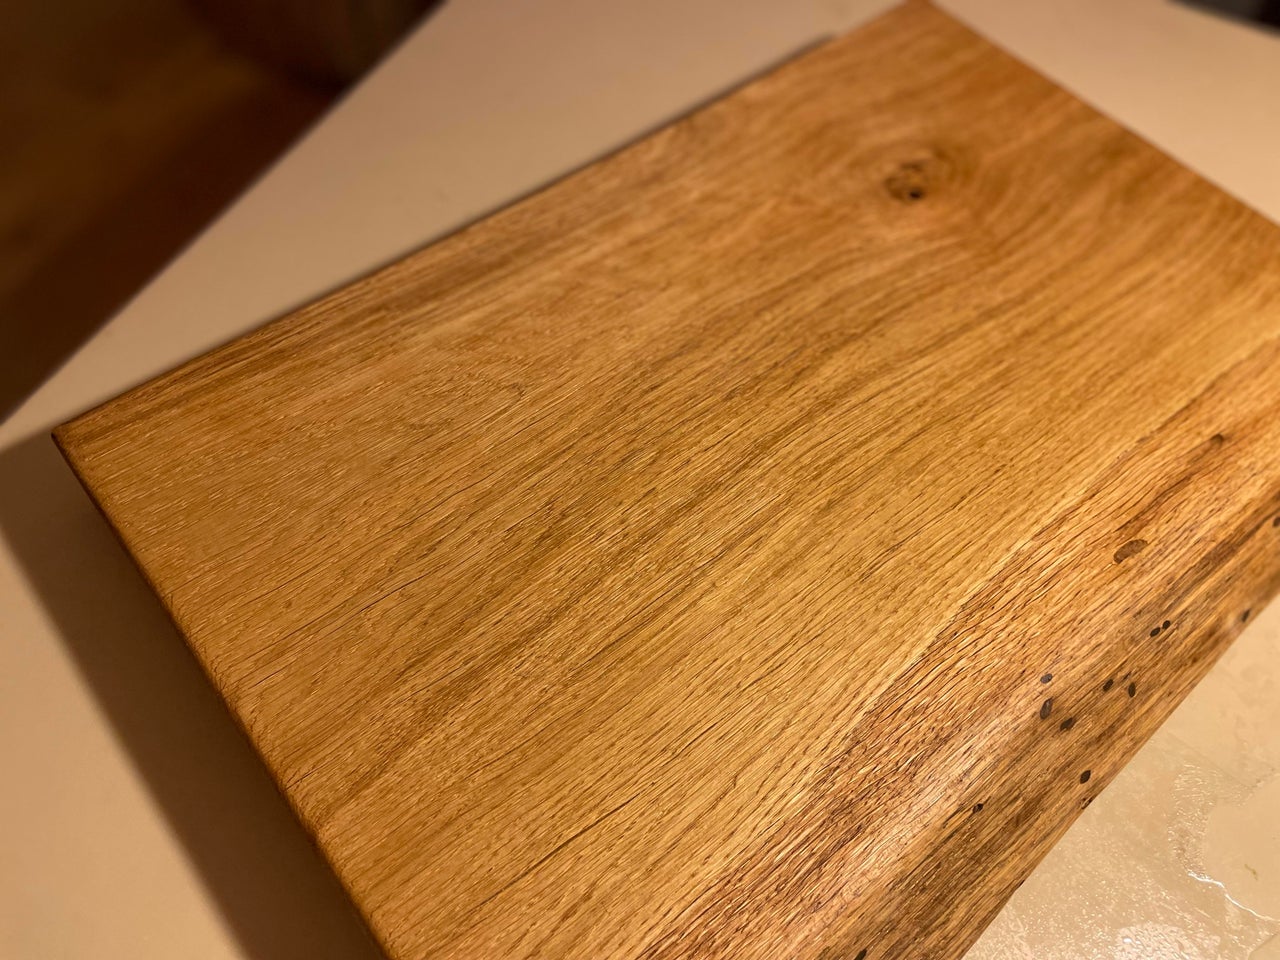
We've Never Done 'Normal' and Sarah's Boards are no exception. The grain of these Live Edge Chopping Boards will vary as Nature Intended and each piece is as unique as the Chef
James Martin Style Chopping Board - Stunning grain, texture and character. Natural cracks and knots have been backfilled with food-safe epoxy resin. Finished in multiple coats of Odie's mineral oil. Created entirely by hand in small batches to last a lifetime.
|
|
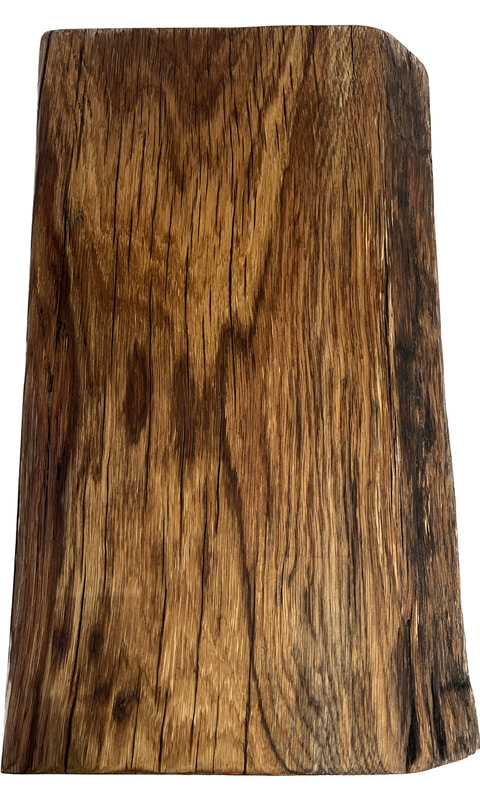
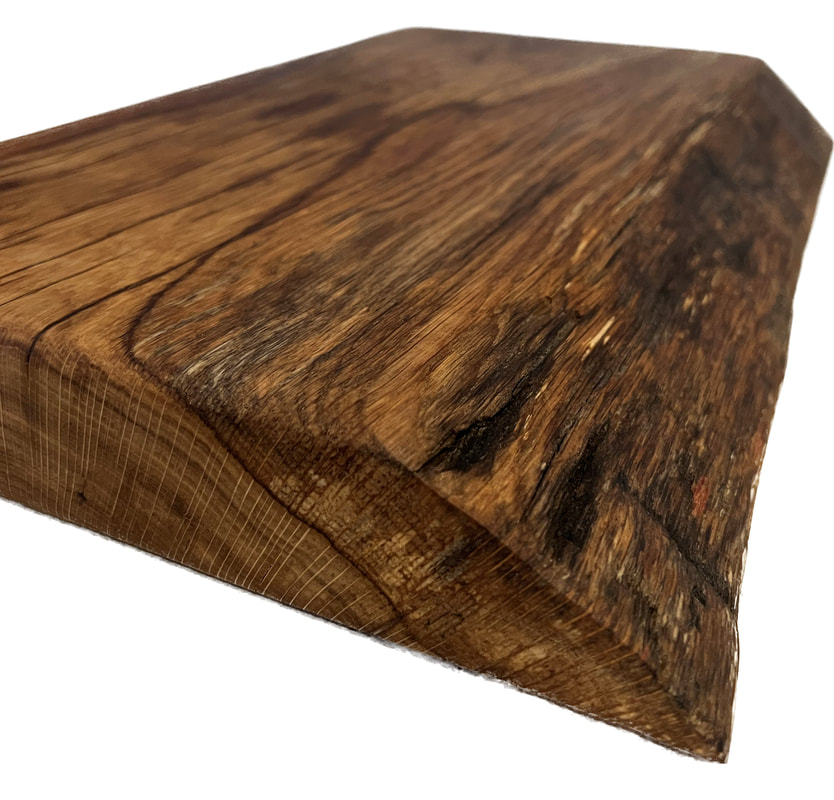
XL OAK SLAB
Handmade in Kent from sustainable oak, these substantial boards would be the centre piece in any kitchen. Made in small batches taking over a week to produce, the board in the photo is the actual board for sale.
Please study the photo carefully before purchase as returns will not be accepted.
8.5kg
510L x 360W x 55D (mm)
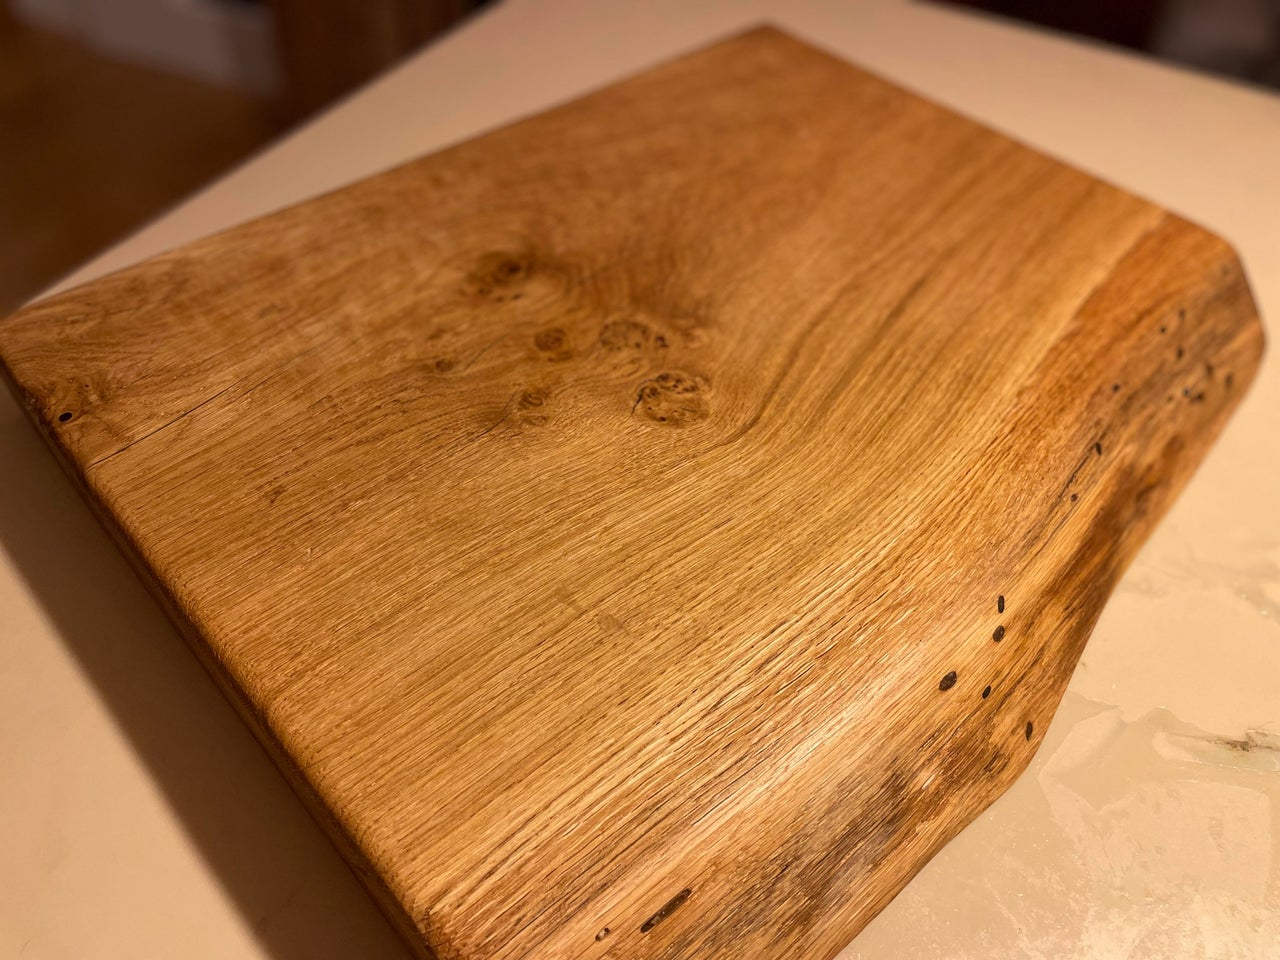
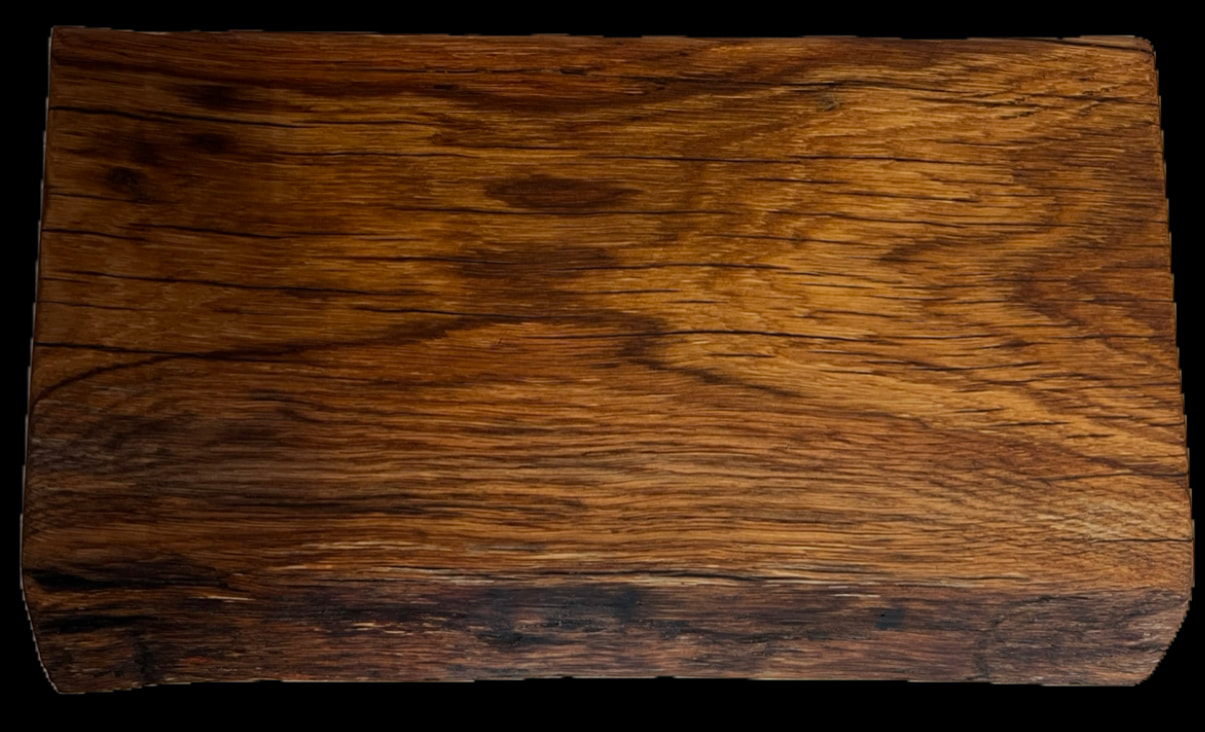
XL OAK SLAB #2
Handmade in Kent from sustainable oak, these substantial boards would be the centre piece in any kitchen. Made in small batches taking over a week to produce, the board in the photo is the actual board for sale.
Please study the photo carefully before purchase as returns will not be accepted.
8.5kg
510L x 400W x 55D (mm)

|
" After taking redundancy from my role in the City in March 2021, I needed to find something to keep me busy, help with mindfulness, and embrace my creative side. It’s been a revelation to have stumbled across an absolute passion" " My interest for wood working all started as a hobby; using reclaimed wood to create an outdoor kitchen area. Things have grown exponentially since then, through natural curiosity and some wonderful people I have met along the way " |
Looking After Your Live Wood Chopping Board
" Each Chopping Board takes a number of days to prepare. All Boards are finished with 3 coats of high quality food safe Mineral Oil. We finish all these products using a food safe Mineral Oil. Boards should never be finished using a Hard-Wax Oil. Please follow the below advice using food safe mineral oil. We recommend chopping boards are re-oiled once every three to four months which will keep your board in first-class condition. If the wood appears dry and water is starting to be absorbed then a coat of oil is required." - Ian Wood Design
OILING STEP BY STEP
• Clean thoroughly with a damp cloth to remove any dust or dirt then leave to dry.
• Stir the Oil thoroughly before and during application.
• Apply your Oil sparingly using either a clean, lint free white cloth or a finishing sponge. Never pour the Oil onto the surface.
• Once the entire surface has been lightly coated in a thin and even layer, wipe the surface in the direction of the grain.
• Allow 6 hours for the Oil to dry in warm, dry well-ventilated room.
• Once dry repeat this process, adding up to two more coats.
|
|

|